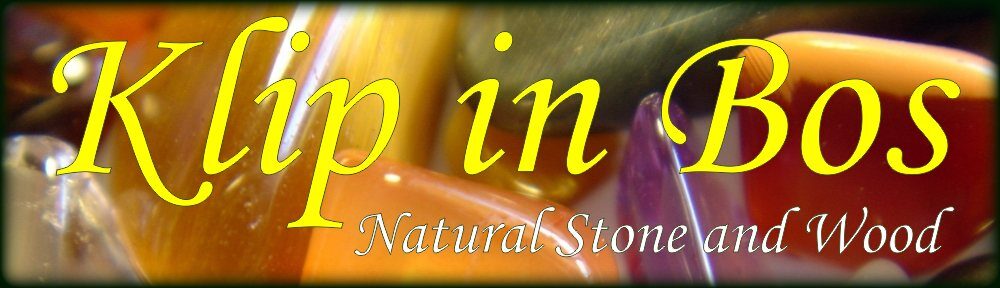
One of the projects undertaken with Barry’s stones is a door for a bathroom cupboard. I started with a basic design traced on the wood. After that I began looking for stones of the colours I wanted. Making mosaics with cut or tumbled stones is different from the usual mosaic technique because you can’t break or cut the stones to fit the spaces. You have to find the perfect stone for each spot by working through your supply of stones. It is a painstaking and slow process but very rewarding to find just the one!
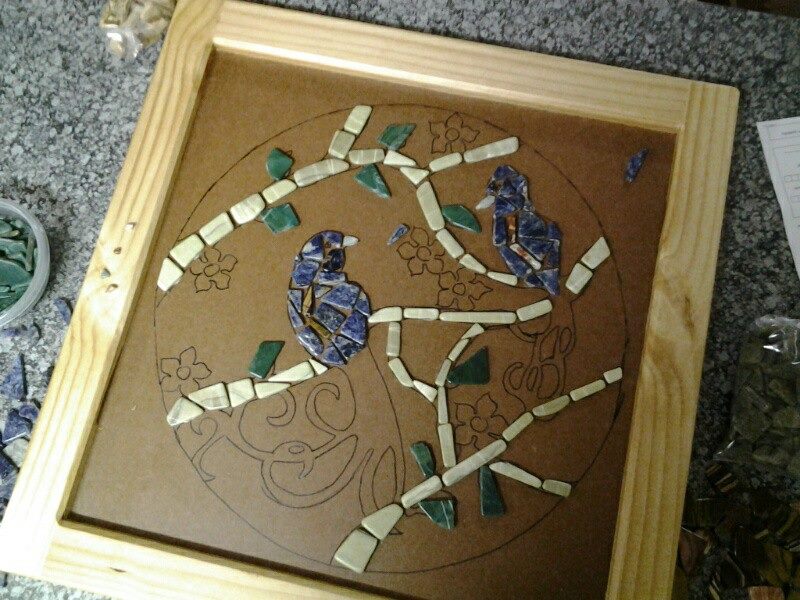
This particular project is a bit multi-media. It consists not only of stones, but also normal mosaic tiles and some self-made flowers – lasercut masonite with small stones stuck on top. This helped to keep the flower shapes well-defined even though they were quite small. Another thing to note here is that I changed the design of the bird’s tail on the fly. The original design just didn’t seem right anymore.
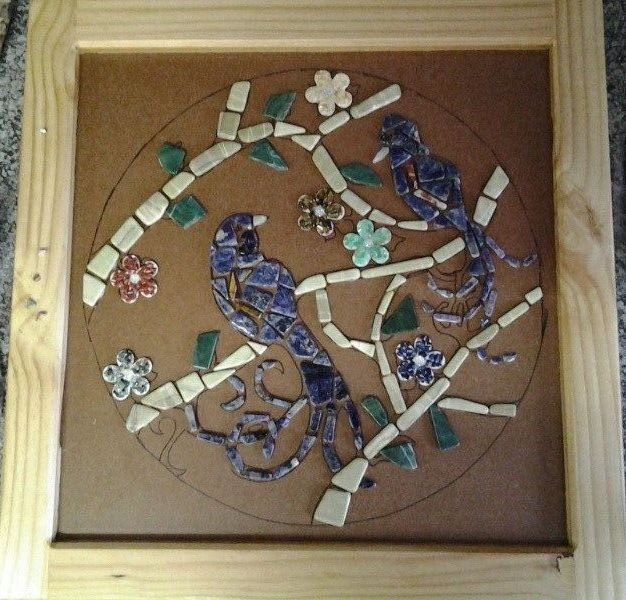
By now I have filled in quite a bit of the open spaces. I had no idea what to do in the corners so was led mostly by the sort of stones I had available. I noticed many of the thin, stick-like bits, and decided to use them in the corners. As you can see I didn’t have enough of one colour to do all the corners in the same way. But I figured artistic licence allows me to make the corners any colour I liked!
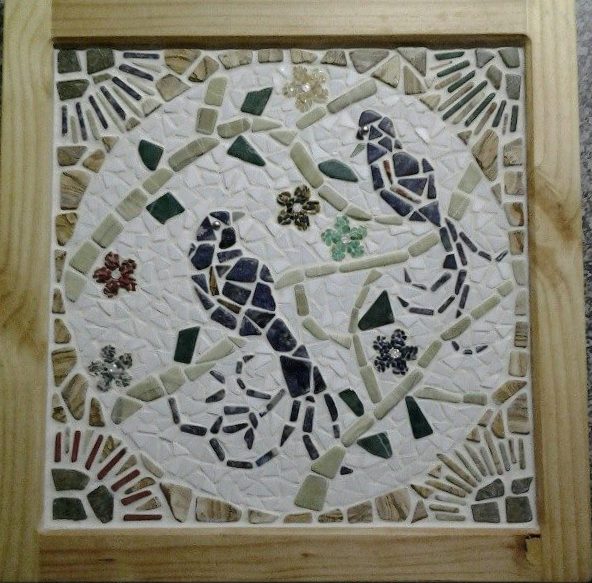
Here you can also see the white mosaic tiles filling in the inside space. I chose the normal tiles for two reasons. One, I did not have enough white stones to fill enverything. And secondly, I liked the idea of a texture change between the fore – and background.
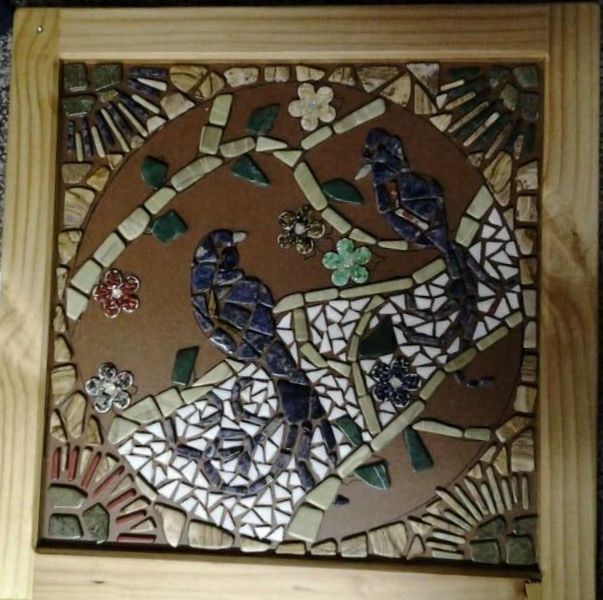
This is the almost-finished stage, just before grouting. The part where I experience the most inner conflict. I am always convinced grouting will spoil it completely, and have to force myself to actually do the grouting.
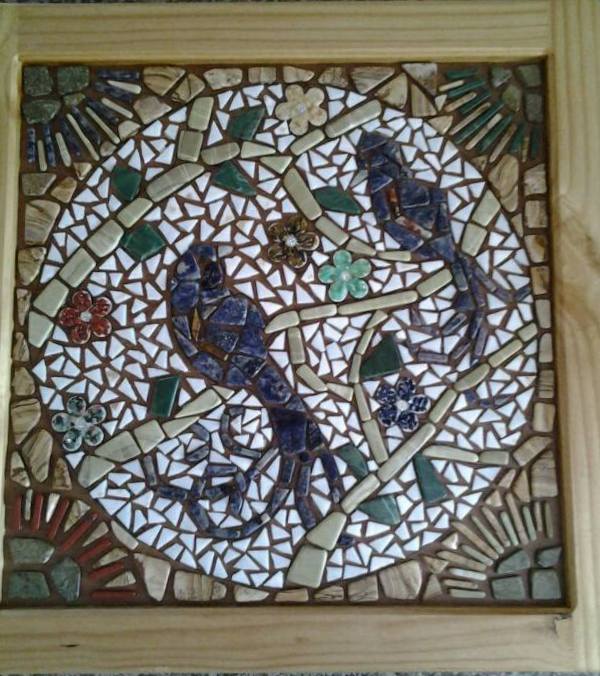
After grouting. And it turned out fine after all.

Right at the end another little change occurred. Since this door is going to live in a bathroom, I decided to varnish the grout to seal it from damp. Due to a tiny misunderstanding, the first bottle of varnish turned out not to be clear, but sort of yellow-brown. And I only noticed it when I made the first brush-stroke. After a mild panic attack I decided to keep going round with the yellow-brown stuff and do the middle in clear varnish. The end result is actually better than I expected.